

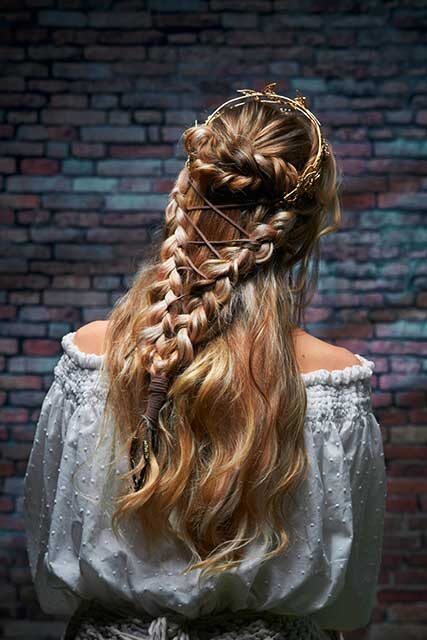
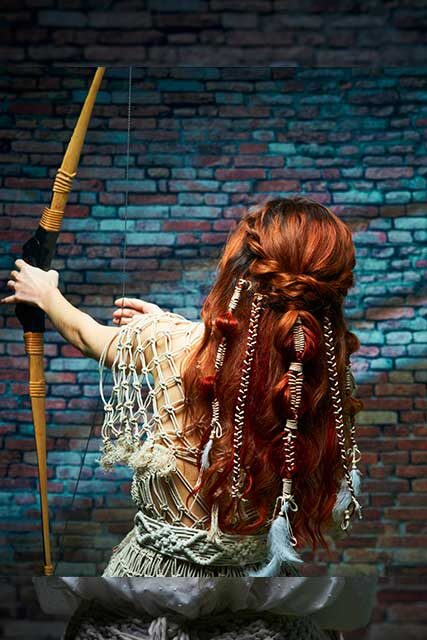
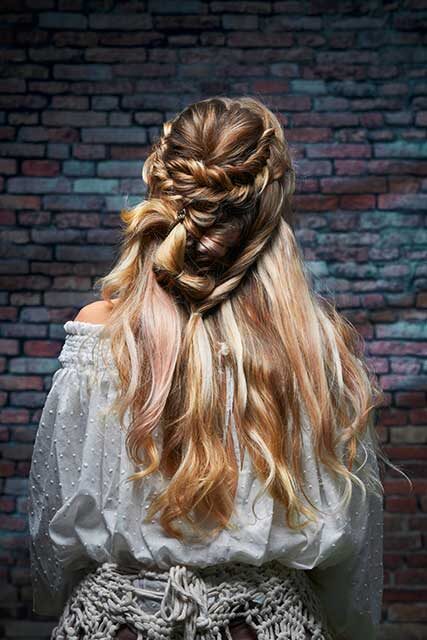
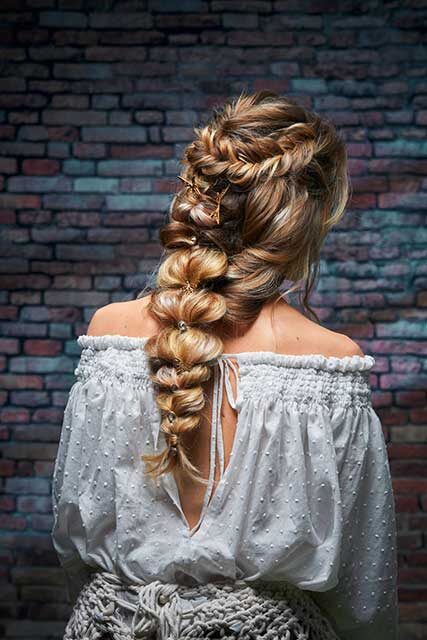
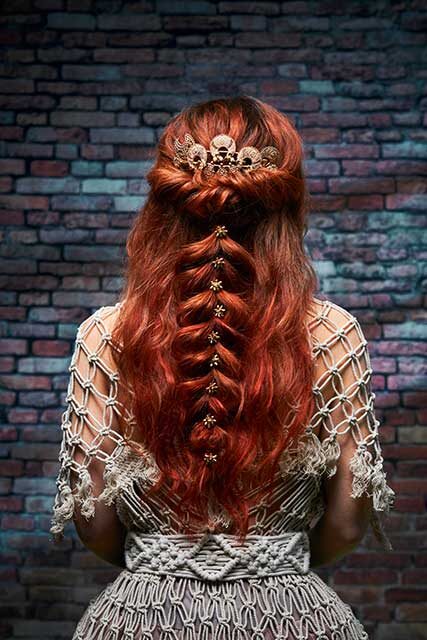
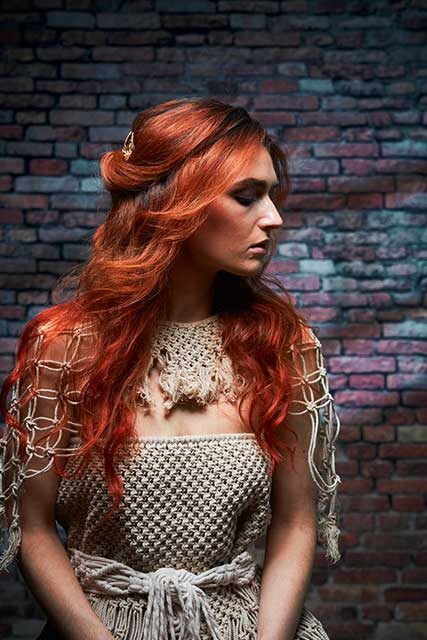
Work 1: Twine Interlocking Combo
- Image 1: We prepare the hair with the “Medialdea Method” texturing techniques and proceed to the marking with a 32 mm diameter tweezers. We brush the hair, apply a little shine spray and we are ready to start working.
- Image 2: We separate the front and the sides, collect a section of the crown in a ponytail and we deconstruct it a little.
- Image 3: We take a section of the side of about 3 cm thick, we create a soft cord and we join it to the rubber band of our central section.
- Image 4: We carry out the same previous step on the other side.
- Image 5: With the central section we begin to make a caterpillar braid with our twine, releasing a small lock from each crossing.
- Image 6: We close the section at about 8cm with a rubber band, creating a bubble and leaving the interlacing of the string in its center, with the same string we circle the rubber band several times to leave it covered.
- Image 7: We repeat the previous step in the next area (8cm) of the same section, we can help ourselves with tweezers, if necessary.
- Image 8: We continue to carry out steps 6 and 7 until we finish with the length of the entire section.
- Image 9: We take a 3 cm section from the side, we make a caterpillar braid in it, weaving the string along the entire length of the section.
- Image 10: We carry out the same previous step on the opposite side.
- Image 11: We again take a 3cm section from each side. In these sections I have been fusing caterpillar braid with more bubble and twine and so on until I finish with the length of the section. But we leave this part to your creativity, we can mix with French braids, twine, bubbles, etc. (You have to have fun and unleash your imagination and creativity).
- Image 12: We finish our work by adding some feathers, wooden balls or some twine at the ends of our braiding, to still give a more boho, Viking and warrior touch.
- Image 13: Perspective of the finished side.
- Image 14: Final image of our first bridal proposal: “Boho Viking”
Work 2: Pointed braid crowned with a French braid
- Image 1: We prepare the hair with the “Medialdea Method” texturing techniques and we proceed to the marking with a 38 mm diameter tweezers. We brush the hair, apply a little shine spray and we are ready to start working.
- Image 2: We separate the front and sides, we collect a section of the crown in a ponytail, we introduce it inside and we deconstruct it a little.
- Image 3: We make a French braid on the right side and hold in the center with a hairpin.
- Image 4: We eliminate the fluffiness by destructuring the previously created braid.
- Image 5: We carry out the last two steps on the other side.
- Image 6: We take a central section of about 6 cm and make a ponytail.
- Image 7: We take a central section below the previous one of another 6 cm, divide it in the center and go over the previous section, holding it with a rubber band.
- Image 8: We repeat the previous step.
- Image 9: In the two side sections, we create a soft twist and join in the center with a rubber band, under the central section.
- Image 10: From this section we open in two, and superimpose the central section joining with a rubber band.
- Image 11: With the remaining hair in the lower area, we do the same as in step (B09), leaving all the hair gathered in two ponytails.
- Image 12: We take the lower ponytail, divide it in two and superimpose it on the upper one, passing this through the center. We hold it with a rubber band. We go through this step until we finish with the entire length of the hair.
- Image 13: Finished work (side).
- Image 14: Finished work (we can garnish it, depending on the type of bride, with various decorative elements, preserved flowers, natural flowers, jewels, porcelain, etc. On this occasion and to achieve this total look, we have opted for some jewel needles, with stones and butterfly motifs. It’s very trendy.)
Work 3: Heart braid on textured hair
- Image 1: We prepare the hair with the “Medialdea Method” texturing techniques and proceed to the marking with a 32 mm diameter tweezers. We brush the hair, apply a little shine spray and we are ready to start working.
- Image 2: We separate the front and sides, collect a section of the crown in a ponytail, and deconstruct a little.
- Image 3: We take a section of the side of about 4 cm thick, we create a soft twist, we open it to get fluffiness and we define some lines, helping us with some needles. We fix in the center with a pressure hairpin.
- Image 4: We carry out the same previous step on the other side.
- Image 5: We take two central sections of about 5/6 cm, one on top of the other and create a ponytail with each section.
- Image 6: We open the upper ponytail in two sections and we pass the lower one through the center. A clip will facilitate our work.
- Image 7: We collect the previous section, we divide it in two and join it with a rubber band creating a single ponytail.
- Image 8: We continue to carry out steps 6 and 7 with these two ponytails.
- Image 9: We remove the needles and continue with the previous steps, until we finish with the entire length of the hair.
- Image 10: We finish our braiding, destructuring a little to create more thickness and fluffiness in our braid. We join the two ends of the sections into one and cover the rubber band.
- Image 11: Finished job (side)
- Image 12: Work completed (other side)
- Image 13: We can garnish the finished updo with multiple decorative elements. This time we have opted for these handcrafted pieces in jewel headdresses, in aged gold and crystal. A total look that takes us back in time.
- Image 14: Frontals, loose effect, ideal for girls who identify and feel more secure with her hair in front.
Hair: Juanmy Medialdea
Hair Instagram: @juanmy_medialdea
Photography: Jose Santo Palomo @santopalomo
MUA: Sergio Castillo @sergiocastillo_makeup
Headpieces: Silvia Peinado
Models agency: Raquel Nofuentes

Thanks for your like and your comment !